Argh, so I have not been able to Blog as much as I would like to as of late. I am sure those of you who regularly stop by have noticed.
Well I do have a reason..well 2 reasons and they are actually acceptable excuses.
1st excuse is I have gone back to school and I am currently taking the devils subject..I mean Math. I have a very complicated relationship with Math....I guess you could just say that I really stink at it so needless to say it is taking a HUGE amount of my time lately.
The 2nd of my absence excuses is because my hubby and I have been working on one of the BIGGEST home improvement projects that I think we have ever taken on. It is also taking tons and tons of time. Plus it makes my muscles hurt. I think I may have already gone through a jar of Ibuprofen..seriously. I had better be built after this :)
The best thing is that my part of the improvement project will be done by next Tuesday night and then I will get to sit back and watch someone else do the work...wanna sneak peek of what it is? ..... Too bad. HAHA.
Wednesday, July 20, 2011

Thursday, July 14, 2011
Candy Bar Pie
While I was at girls camp a few weeks ago I had the pleasure of eating some pretty tasty food. One of the best things I had was this pie that a fellow leader had prepared.
Can I say yummmmm!
The best part is that it only takes a little bit of prep and barely any time to throw together.
Here are the ingredients:
 Vanilla Ice cream, Whipped topping, candy bar of your choice, caramel ice cream topping, Magic shell Chocolate topping, Graham cracker Pie crust.

 The prep for this is simple. First take the ice cream and whipped topping out of the freezer and let it thaw out a bit so it is easier to spread and mix.
 The second thing is to bash up your candy bars. That's right grab a meat mallet and take out your aggression on your tasty treats :)
Sample the candy to make sure the taste is right...
 yep mine is good.
Now lets get down to making this yummy dessert.
Take your graham cracker crust and your magic shell Chocolate. Squirt a bit of the chocolate into the shell.

and then make sure you swirl it around to coat the bottom.

Next take your ice cream that has slightly thawed...(You will only want about half of your container)
and your whipped topping (half of this container as well) and combine them with your pre-bashed candy bars. (leave a bit of candy bar to spread on top when finished)

After you have mixed it all up take about half and spoon it into your pie crust and then top it with some more of that magic shell and caramel sauce.

Next take the remaining half of the mixture and smooth it all out.

Take the remaining part of the candy bar and sprinkle it over the top and add some more of that caramel for good measure.

Here you have it, a very simple and tasty dessert compliments of my friend Camille...thanks by the way Camille, I am addicted ;)
Can I say yummmmm!
The best part is that it only takes a little bit of prep and barely any time to throw together.
Here are the ingredients:


Sample the candy to make sure the taste is right...

Now lets get down to making this yummy dessert.
Take your graham cracker crust and your magic shell Chocolate. Squirt a bit of the chocolate into the shell.
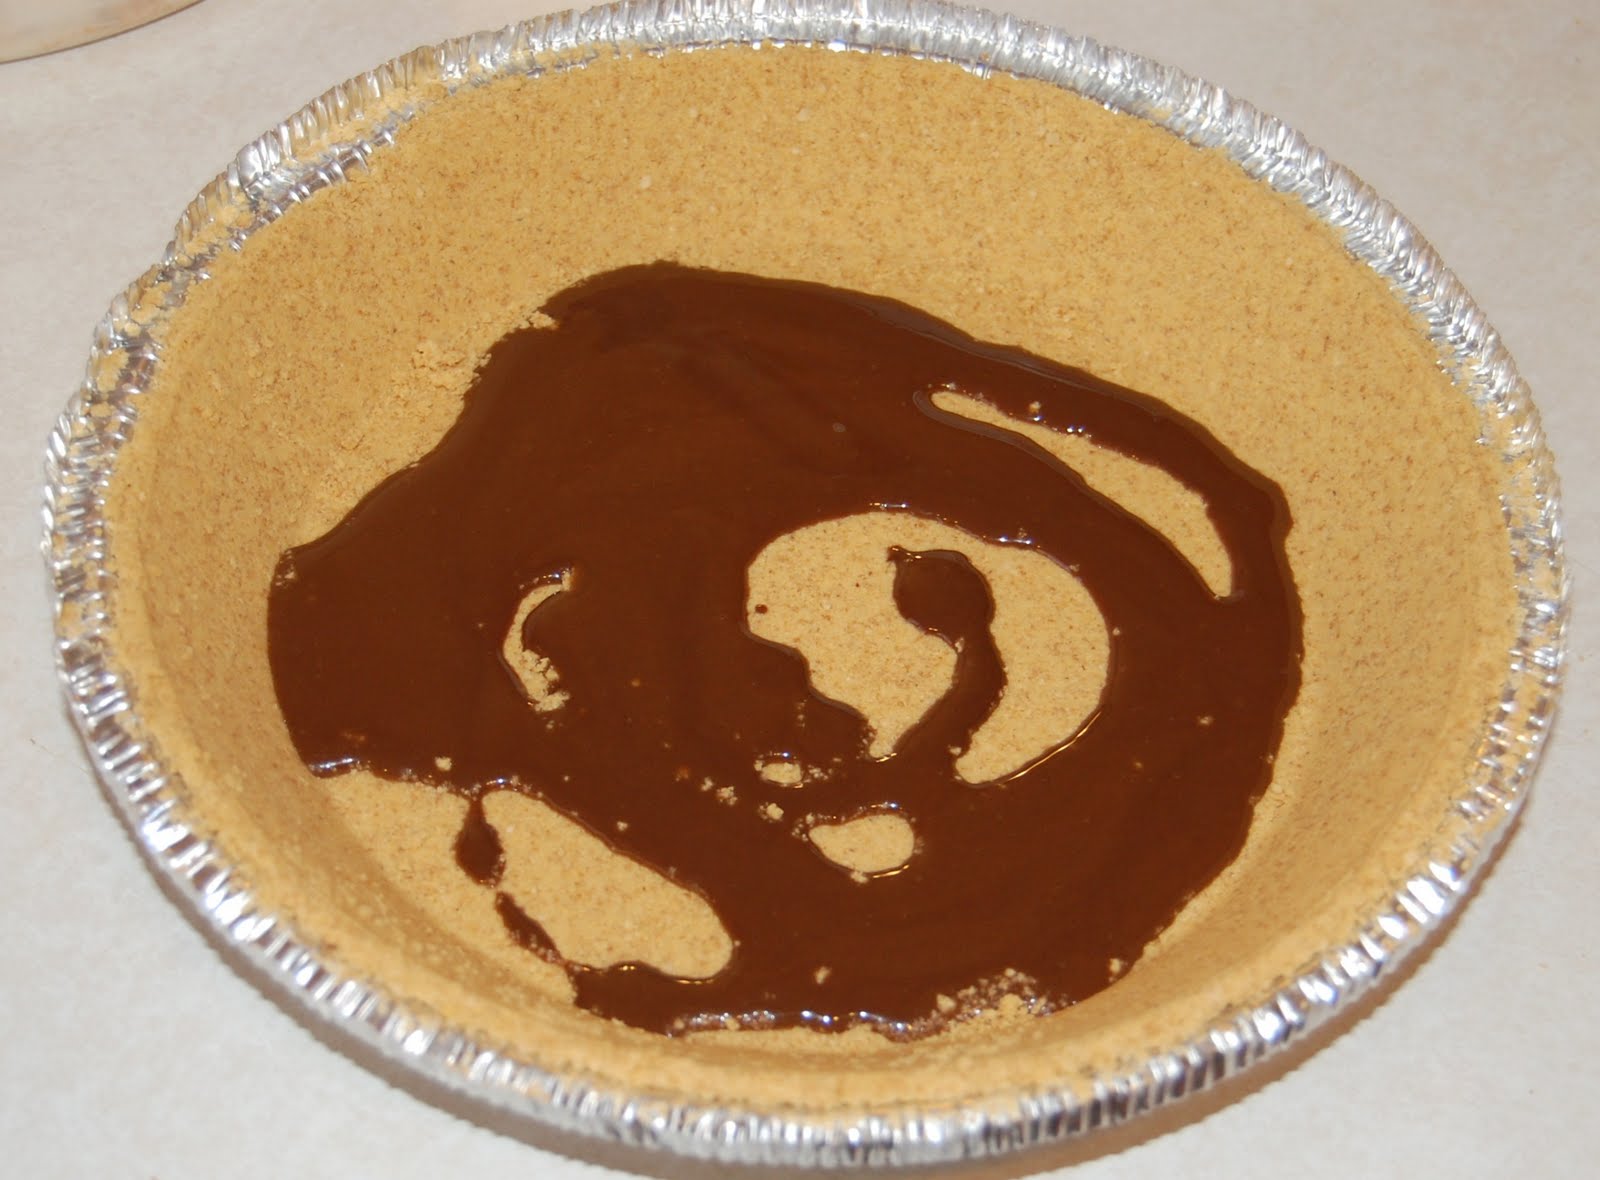
and then make sure you swirl it around to coat the bottom.

Next take your ice cream that has slightly thawed...(You will only want about half of your container)
and your whipped topping (half of this container as well) and combine them with your pre-bashed candy bars. (leave a bit of candy bar to spread on top when finished)

After you have mixed it all up take about half and spoon it into your pie crust and then top it with some more of that magic shell and caramel sauce.

Next take the remaining half of the mixture and smooth it all out.

Take the remaining part of the candy bar and sprinkle it over the top and add some more of that caramel for good measure.

Here you have it, a very simple and tasty dessert compliments of my friend Camille...thanks by the way Camille, I am addicted ;)
Linked to:
http://www.somewhatsimple.com
http://organizeyourstuffnow.com/
http://www.myuncommonsliceofsuburbia.com/
http://makingtheworldcuter.blogspot.com/
http://www.dontwasteyourhomemaking.com/
http://spunkyjunky.blogspot.com/
http://www.fingerprintsonthefridge.com/
http://www.bacontimewiththehungryhypo.blogspot.com/
http://www.pinkapotamus.blogspot.com/
http://tatertotsandjello.blogspot.com
http://funkyjunkinteriors.blogspot.com
http://lovelylittlesnippets.blogspot.com/
http://organizeyourstuffnow.com/
http://www.myuncommonsliceofsuburbia.com/
http://makingtheworldcuter.blogspot.com/
http://www.dontwasteyourhomemaking.com/
http://spunkyjunky.blogspot.com/
http://www.fingerprintsonthefridge.com/
http://www.bacontimewiththehungryhypo.blogspot.com/
http://www.pinkapotamus.blogspot.com/
http://tatertotsandjello.blogspot.com
http://funkyjunkinteriors.blogspot.com
http://lovelylittlesnippets.blogspot.com/
Tuesday, July 12, 2011
Buster Burger Giveaway
My friend over at Utah County Mom is having a pretty tasty giveaway right now. Head on over and show her some love and enter her giveaway!
Tuesday, July 5, 2011
Photography Giveaway Winner
Congratulations to the winner of our Photography Giveaway Jeana!
I would LOVE family photos! Pick me pick me!!
Jeana
I will be sending you an email and if I don't hear from you in a week I will re-draw.
Stay tuned for the living room reveal and for a new giveaway!
I would LOVE family photos! Pick me pick me!!
Jeana
I will be sending you an email and if I don't hear from you in a week I will re-draw.
Stay tuned for the living room reveal and for a new giveaway!
Thursday, June 30, 2011
GIVEAWAY Update
There hasn't been much response to the giveaway and I think I know why. I think I may have implied that there would be some payment for the images taken by Sarah.
Please note that this is not what I meant. The session is free and you will receive all images on a CD. No copyright or anything.
Sarah also edits photos to make sure that you are looking your best and to add a special something to your pics.
The Giveaway will end midnight on July 4th and currently there are only 2 people entered. The only thing you need to do to enter is leave me a comment saying what kind of photo session you would like.
To get to the giveaway click here
Happy entering :)
Please note that this is not what I meant. The session is free and you will receive all images on a CD. No copyright or anything.
Sarah also edits photos to make sure that you are looking your best and to add a special something to your pics.
The Giveaway will end midnight on July 4th and currently there are only 2 people entered. The only thing you need to do to enter is leave me a comment saying what kind of photo session you would like.
To get to the giveaway click here
Happy entering :)
Candlesticks
I bought these candlesticks FOREVER ago and I love them. They have so much detail and are different from anything that I have ever seen.
The Problem is that they are kind of hum drum. They don't really match any room especially the room that they are currently sitting in which is the living room.
So what do I do with these lovelies? I really love them and don't want to get rid of them, so I am going to ask your opinion on what should be done...
I have thought about painting them white and then glazing them. Spraying them turquoise or a dark brown.

 What do you think?
The Problem is that they are kind of hum drum. They don't really match any room especially the room that they are currently sitting in which is the living room.
So what do I do with these lovelies? I really love them and don't want to get rid of them, so I am going to ask your opinion on what should be done...
I have thought about painting them white and then glazing them. Spraying them turquoise or a dark brown.


Tuesday, June 28, 2011
Fourth of July Hairbow Tutorial
I wanted to make a cute 4th of July hair bow for my cute little K-La girl.
I have only ever made one really simple type of hair bow before so this was a definite trial and error but it turned out okay.
First off I gathered all of my supplies that I would need. I had 2 types of ribbon, a button, hot glue, scissors & an alligator clip.

The first thing that I did was to cut the ribbon to the sizes that I would need for the bow. I cut 2 lengths in the blue ribbon and 4 in the red and white ribbon. All of these were the same length. I also cut one more length of red & white ribbon to cover the clip.

The next step was to fold the lengths of ribbon in on themselves and glue them so they formed a ring.

The next step was to glue all of the rings in the middle so they laid flat.

They looked like this when they were all glued. Note just use a little dot of glue. Don't glue down the whole middle.

The next step was to decide on how each layer should look
I then glued them together making sure to always keep the ribbon seams down.

The fifth step was to glue the 2 layers together.

The next step was to get the alligator clip ready to be glued on to the base of the bow.
Here is a reminder of what to use for this.

Glue the ribbon on the flat side of the clip as shown.

Hold the ribbon tight as you fold it around the clip and glue it to the top of the clip.

Continue to glue the ribbon down the rest of the clip keeping it open so you don't glue the 2 sides together and then tuck the ribbon under the clip and glue it down as well.

Flip the bow over and glue the alligator clip to the bow.

I just glued the clip to the lowest ribbon, which also happened to be the thicker ribbon.

Flip the bow back over and glue your button in the middle.

I liked the look of this so much that I made a larger one for my 11 year old niece.

Happy Fourth of July and happy bow making!
I have only ever made one really simple type of hair bow before so this was a definite trial and error but it turned out okay.
First off I gathered all of my supplies that I would need. I had 2 types of ribbon, a button, hot glue, scissors & an alligator clip.

The first thing that I did was to cut the ribbon to the sizes that I would need for the bow. I cut 2 lengths in the blue ribbon and 4 in the red and white ribbon. All of these were the same length. I also cut one more length of red & white ribbon to cover the clip.

The next step was to fold the lengths of ribbon in on themselves and glue them so they formed a ring.

The next step was to glue all of the rings in the middle so they laid flat.

They looked like this when they were all glued. Note just use a little dot of glue. Don't glue down the whole middle.

The next step was to decide on how each layer should look
I then glued them together making sure to always keep the ribbon seams down.

The fifth step was to glue the 2 layers together.

The next step was to get the alligator clip ready to be glued on to the base of the bow.
Here is a reminder of what to use for this.

Glue the ribbon on the flat side of the clip as shown.

Hold the ribbon tight as you fold it around the clip and glue it to the top of the clip.

Continue to glue the ribbon down the rest of the clip keeping it open so you don't glue the 2 sides together and then tuck the ribbon under the clip and glue it down as well.

Flip the bow over and glue the alligator clip to the bow.
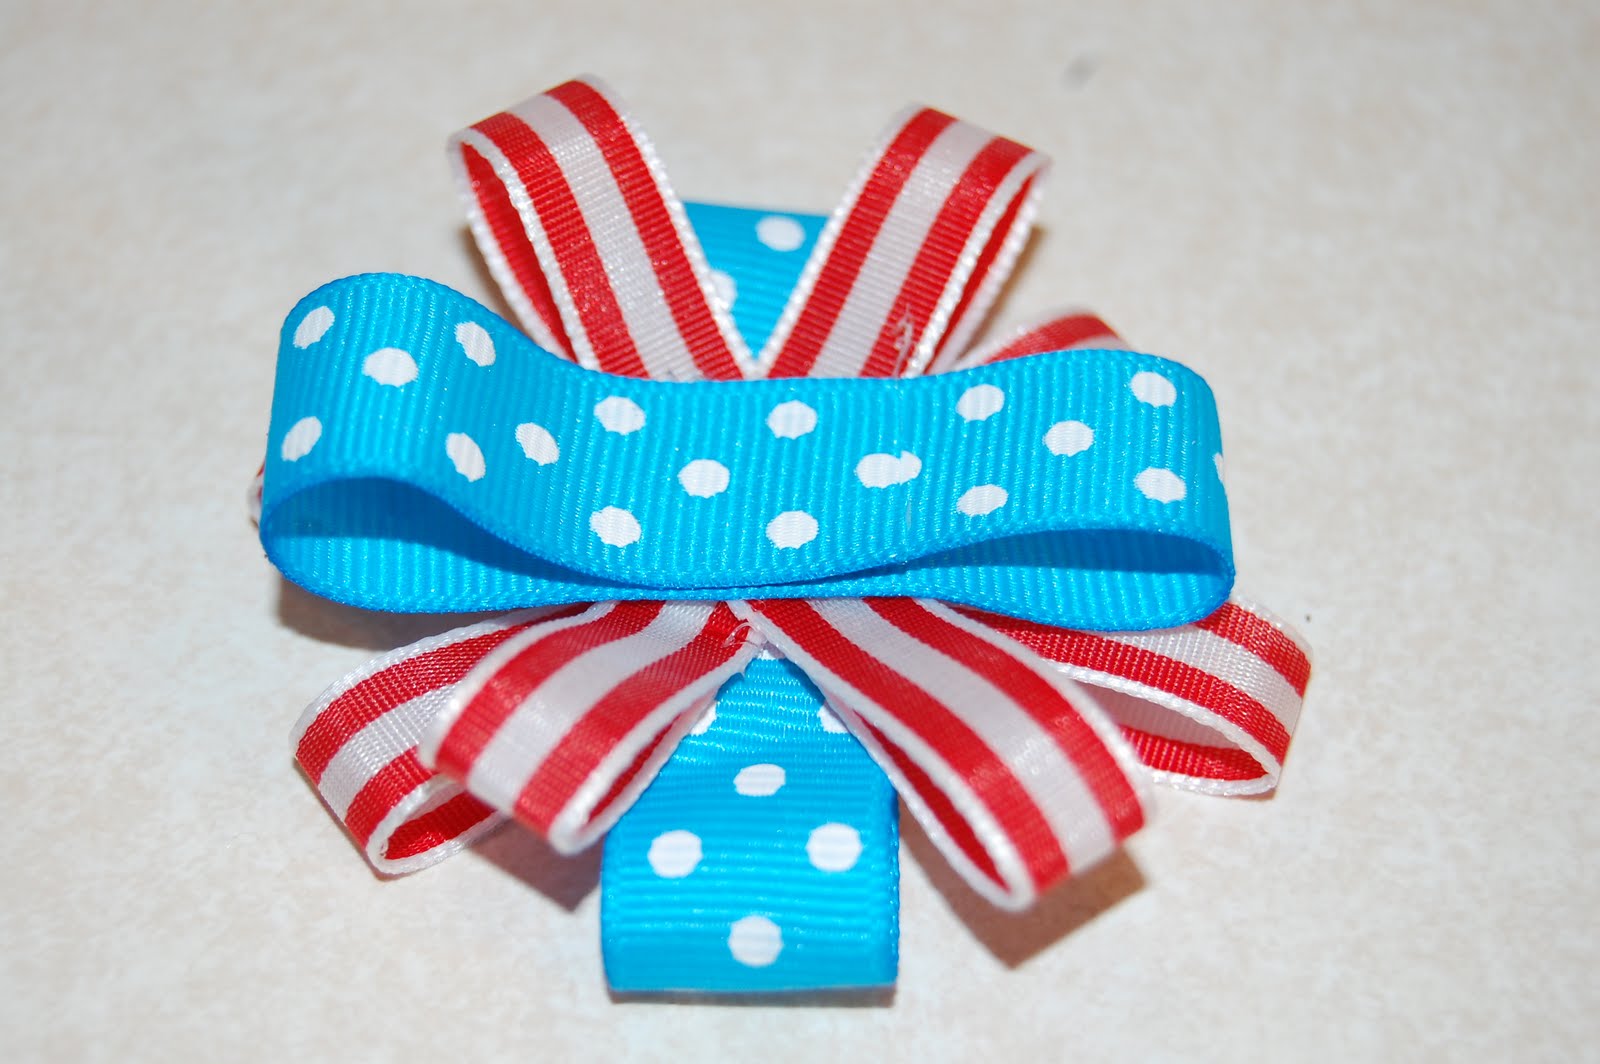
I just glued the clip to the lowest ribbon, which also happened to be the thicker ribbon.

Flip the bow back over and glue your button in the middle.

I liked the look of this so much that I made a larger one for my 11 year old niece.

Happy Fourth of July and happy bow making!
Linked to:
http://www.myuncommonsliceofsuburbia.com
http://www.iheartnaptime.net/
http://www.fingerprintsonthefridge.com
http://spunkyjunky.blogspot.com/
http://tatertotsandjello.blogspot.com
http://www.skiptomylou.org
http://makingtheworldcuter.blogspot.com
http://www.tipjunkie.com
http://todayscreativeblog.net/
http://sewmuchado.blogspot.com/
http://www.morganandkari.com
http://www.handymancraftywoman.com/
http://organizeyourstuffnow.com/
http://nightowlcrafting.blogspot.com/
http://www.somewhatsimple.com
http://bec4-beyondthepicketfence.blogspot.com/
http://www.sugaranddots.com/
http://www.bacontimewiththehungryhypo.blogspot.com/
http://funkyjunkinteriors.blogspot.com/
http://notsosimplehousewife.blogspot.com/
http://www.iheartnaptime.net
http://www.iheartnaptime.net/
http://www.fingerprintsonthefridge.com
http://spunkyjunky.blogspot.com/
http://tatertotsandjello.blogspot.com
http://www.skiptomylou.org
http://makingtheworldcuter.blogspot.com
http://www.tipjunkie.com
http://todayscreativeblog.net/
http://sewmuchado.blogspot.com/
http://www.morganandkari.com
http://www.handymancraftywoman.com/
http://organizeyourstuffnow.com/
http://nightowlcrafting.blogspot.com/
http://www.somewhatsimple.com
http://bec4-beyondthepicketfence.blogspot.com/
http://www.sugaranddots.com/
http://www.bacontimewiththehungryhypo.blogspot.com/
http://funkyjunkinteriors.blogspot.com/
http://notsosimplehousewife.blogspot.com/
http://www.iheartnaptime.net
Subscribe to:
Posts (Atom)


